Priming walls is one of the most important steps in preparing surfaces before painting or wallpapering. Many people skip it, which is a mistake – a well-done primer guarantees a durable finish and saves on materials. Learn how to prime walls for a professional and long-lasting finish.
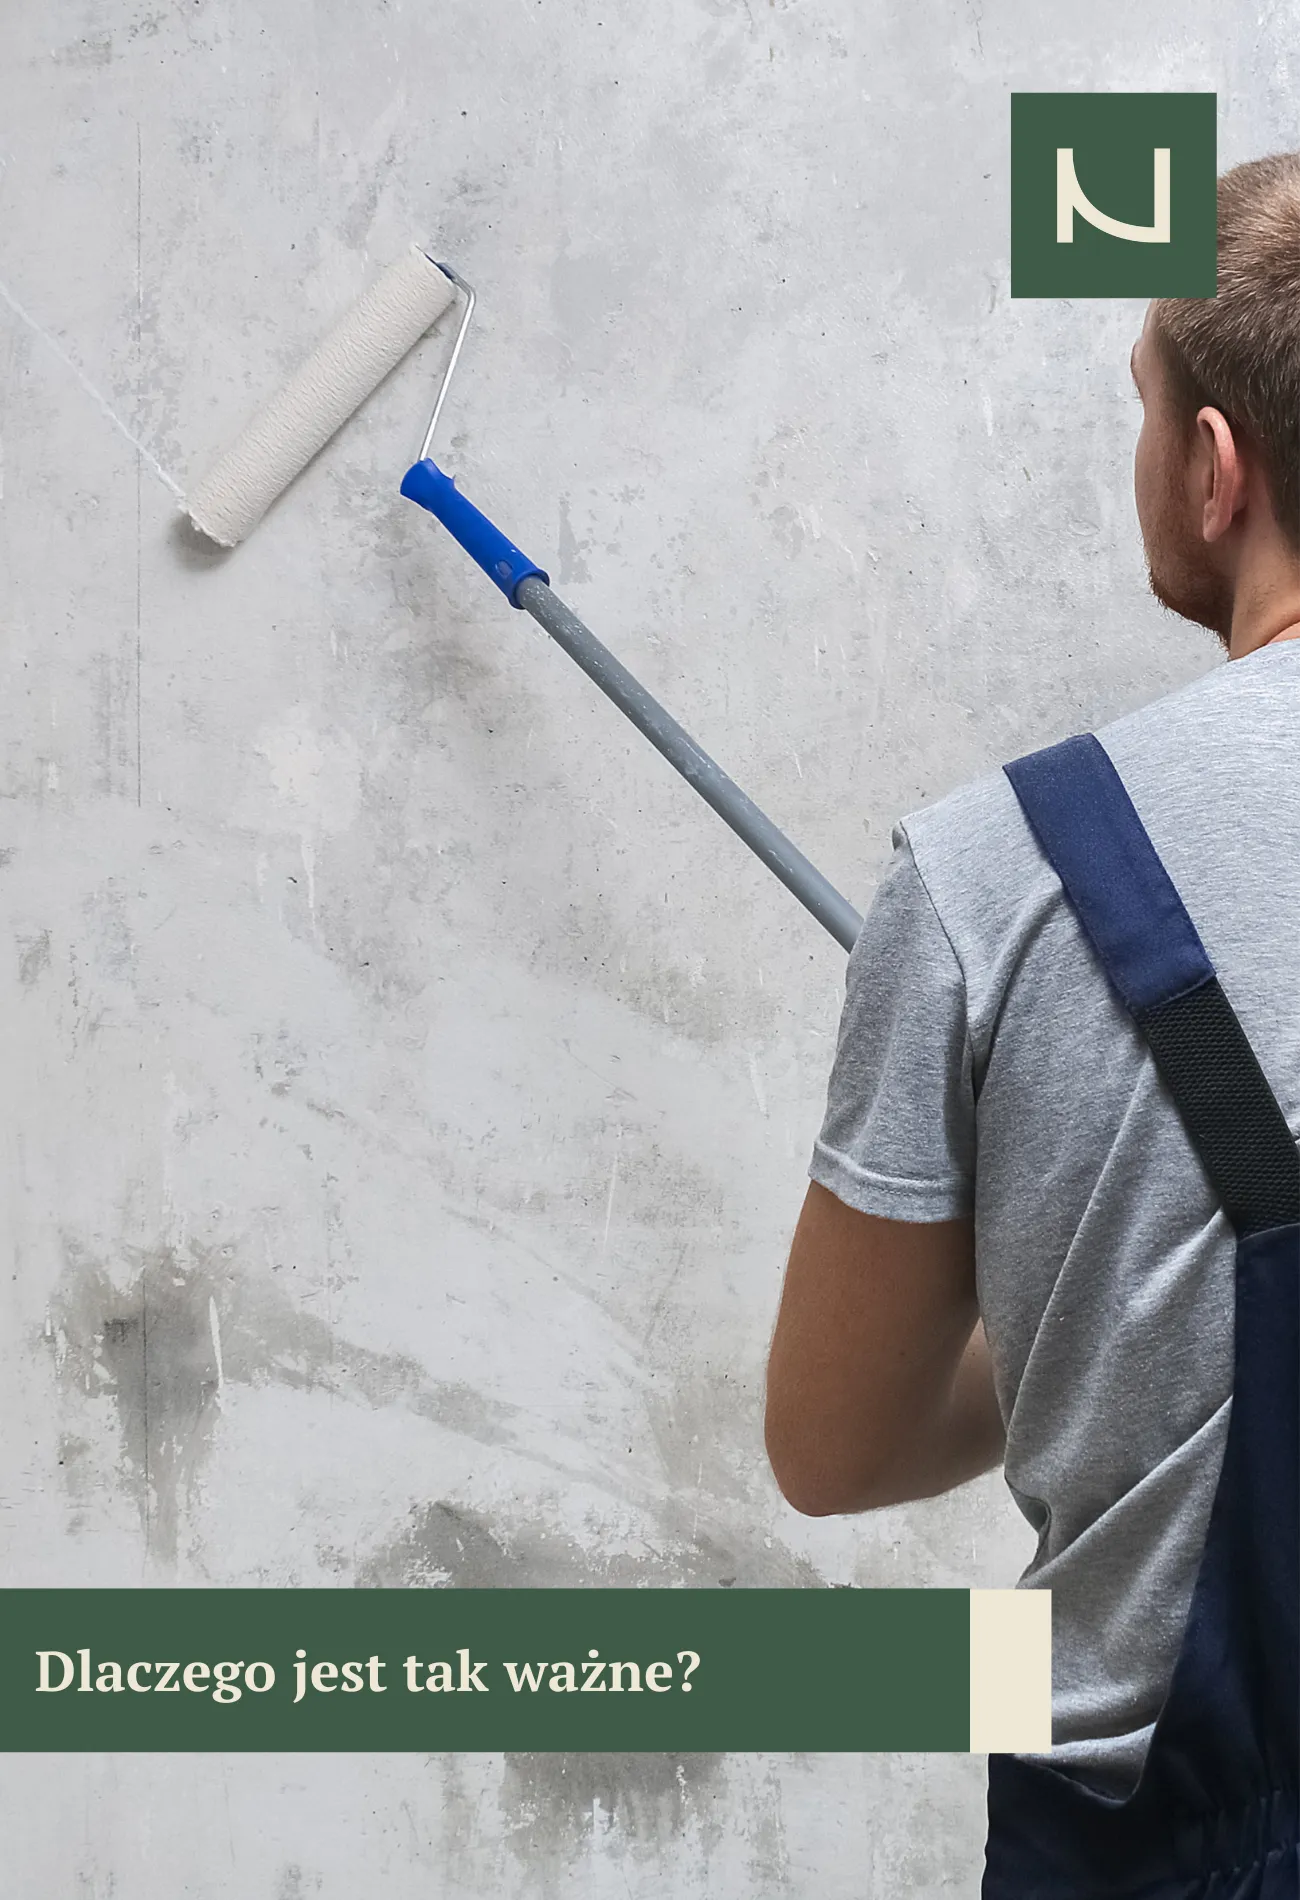
Why is priming walls so important?
Priming is a step that has a huge impact on the final result of a renovation. In practice, it’s an investment in the durability and aesthetics of the finish. Here are the key benefits:
Equalization of the substrate’s absorbency
Walls can absorb moisture and paint to varying degrees, especially when combining different materials (e.g., plaster and finish). Primer ensures uniform absorption across the entire surface, ensuring even paint color and preventing discoloration.
Strengthening the wall structure
The primer penetrates deep into the substrate, binding fine particles of plaster or finish. This makes the wall more resistant to mechanical damage and prevents dusting. This is especially important in older apartments, where the substrate can be brittle.
Better adhesion of paint or wallpaper
The primer creates a layer to which paint, glue, or decorative plaster adheres much better. This makes the coating more durable, preventing it from peeling or coming loose from the wall even after years.
Savings on finishing materials
Because the wall doesn’t absorb excess paint or glue, material consumption is significantly reduced. Instead of three coats of paint, two are often sufficient, which translates into lower renovation costs.
Protection against moisture and mold
Some types of primers have additional protective properties. They create a barrier that limits moisture penetration into the wall, thus preventing the formation of mold and mildew.
Durability of the final effect
Thanks to priming, walls retain their aesthetic appeal for longer. The paint won’t chip or peel, and it doesn’t require frequent repainting.
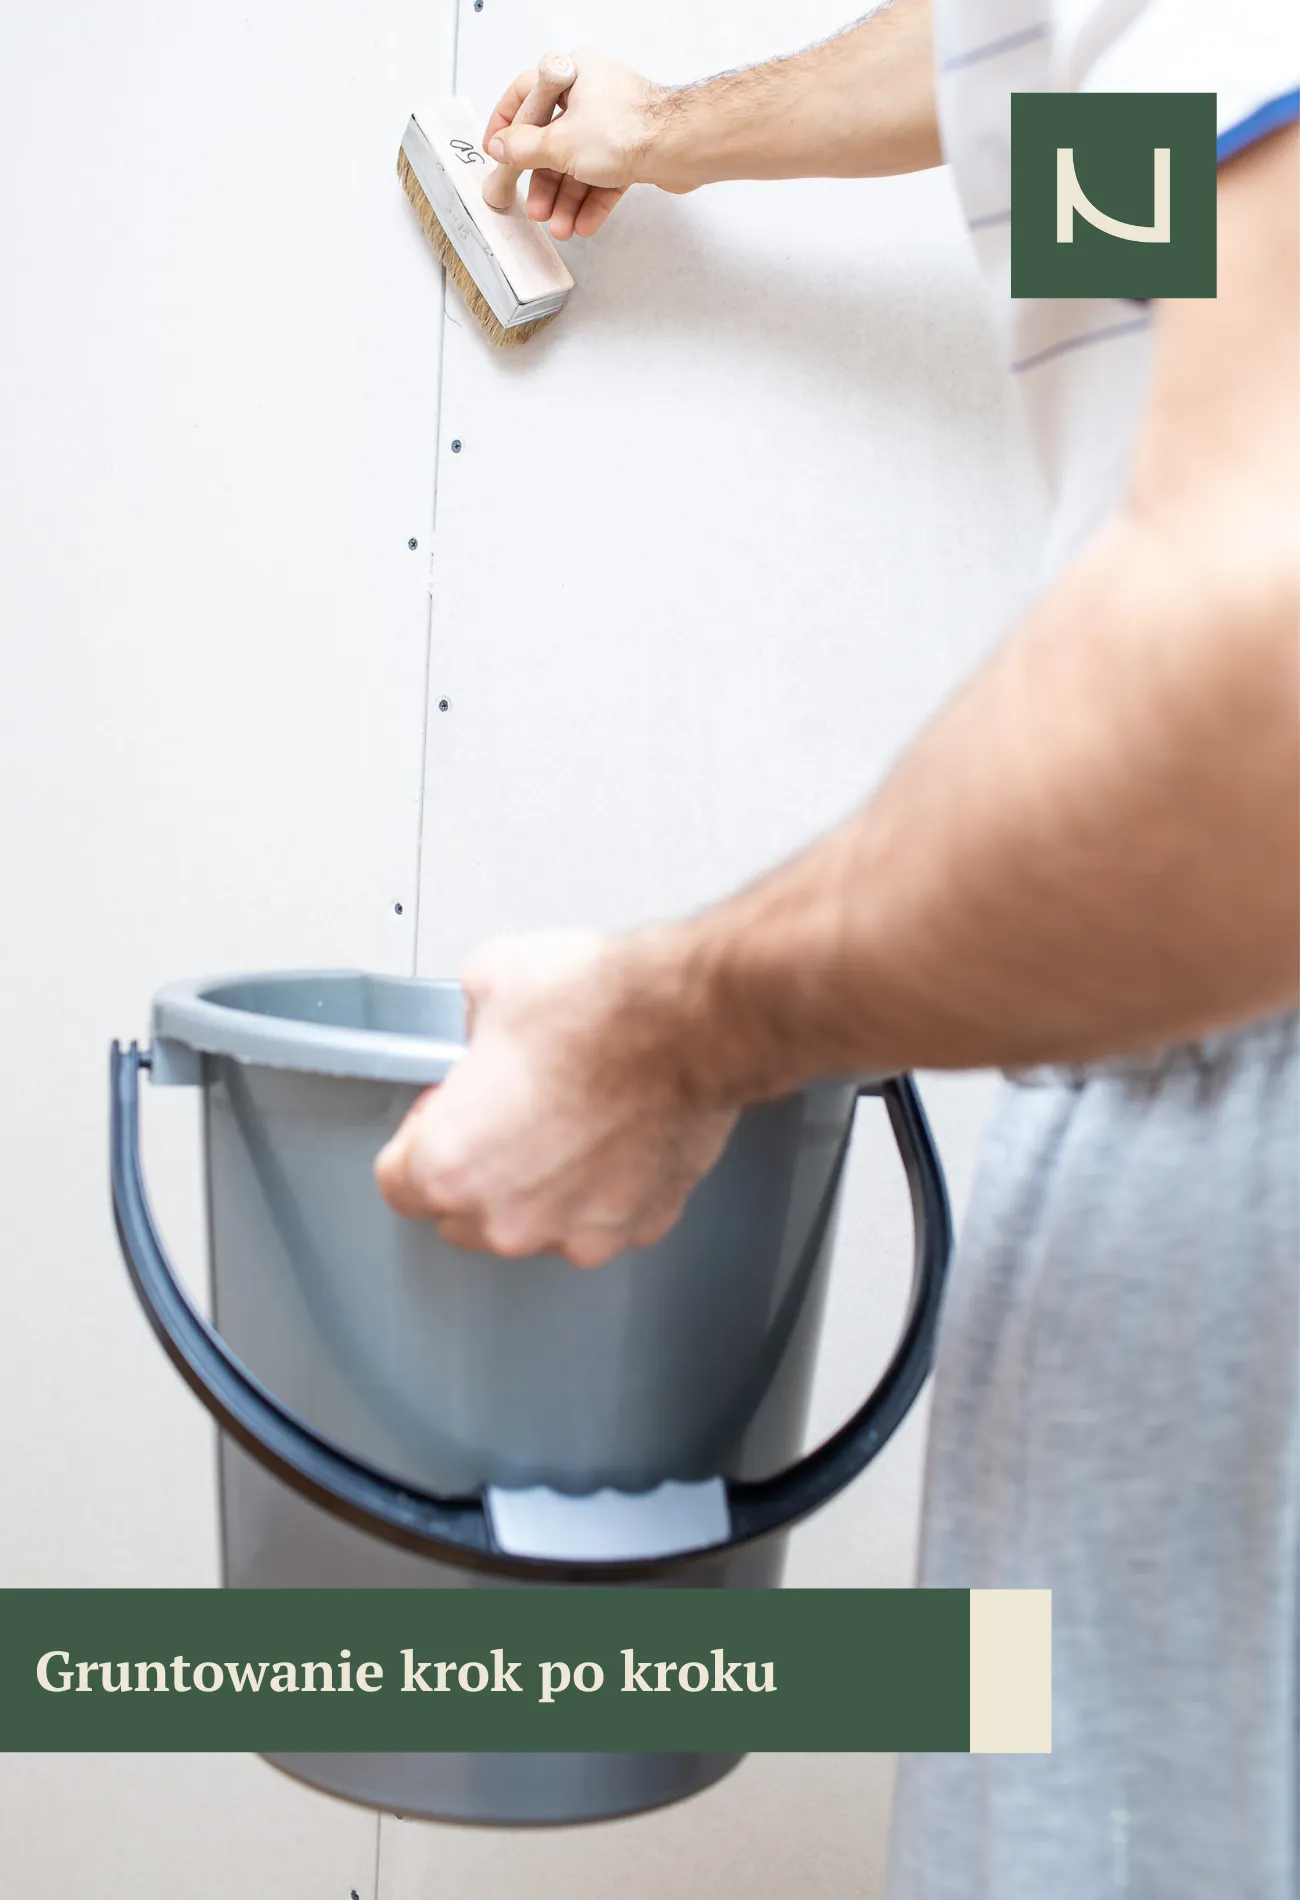
How to prime walls step by step?
- Preparation of the substrate
Walls should be thoroughly cleaned of dust, grease, and remnants of old paint. Any cracks should be filled and the surface smoothed with sandpaper. - Selecting the right soil
Choose a primer that’s right for your wall type—different ones are used for gypsum plaster and concrete. Universal primers will work in most cases, but it’s always worth checking the manufacturer’s recommendations. - Soil application
Apply the primer with a roller or brush. It’s important that the layer is even and streak-free. For hard-to-reach areas, it’s best to use a brush. - Drying time
Walls must be thoroughly dry before the next stage of work. Depending on the product and conditions, drying time ranges from a few to several hours. - Effect control
A well-primed wall should be uniform and matte. If differences in absorption are still noticeable, it’s worth applying a second coat.
What mistakes do we make when priming?
- Using too much of the preparation causes shiny spots.
- Painting without waiting for the primer to dry.
- Skipping the stage of cleaning and plastering the walls.
- Selecting the wrong soil for the type of substrate.
By avoiding these mistakes, you will achieve a durable and aesthetic finish.

Summary
Knowing how to prime walls can help you prepare them for painting or wallpapering. This simple yet crucial step ensures a long-lasting final result and saves on materials. If you’re planning a major renovation and want everything done professionally, it’s worth seeking the help of interior design and finishing specialists.